
Understanding the Full Roof Replacement Process
Introduction: Why Knowing the Process Matters
Replacing your roof is one of the most important investments you'll make as a homeowner. It protects your home from the elements, maintains your home’s structural integrity, improves energy efficiency, and enhances curb appeal. But for many homeowners, the process can seem overwhelming.
At K&M Roofing and Construction, we believe an informed homeowner is a confident one. This comprehensive guide will walk you through each stage of the roof replacement process, from inspection to installation and beyond. Whether you're in North Texas, Central Texas, or the Austin area, this is everything you need to know before the first shingle is removed.
Step 1: Roof Inspection and Project Scope
Every full roof replacement starts with a thorough roof inspection. A trained roofing specialist will assess the current state of your roof, looking for:
- Missing or curling shingles
- Soft spots or sagging
- Leaks or water stains
- Flashing damage
- Granule loss
They'll also inspect your attic ventilation and insulation to ensure your roofing system performs efficiently.
Once the inspection is complete, you'll receive a detailed project scope, including:
- Type of materials recommended
- Estimated labor and material costs
- Timeline for project completion
🡒 Learn more about our roof inspections and what they cover.
Homeowners are often surprised by what a trained eye can detect. Even if your roof looks intact from the ground, minor issues like poor ventilation or hidden leaks can lead to long-term problems. That’s why an early inspection is so critical—not only for budgeting but also for protecting your property.
Step 2: Choosing Your Roofing Materials
Next, you’ll choose the roofing material that fits your budget, style, and climate needs. At K&M Roofing, we offer:
- Architectural asphalt shingles for durability and wind resistance
- Impact-resistant shingles perfect for Texas hail storms
- Energy-efficient options with solar-reflective granules
- Designer shingles that elevate curb appeal
We proudly use Owens Corning® products and offer guidance on selecting the best warranty and color options for your home.
🡒 Explore Owens Corning roofing systems.
When choosing materials, homeowners should consider longevity, warranty options, and how the color complements their home’s exterior. For example, darker colors may help with snowmelt in colder climates but can increase attic temps in Texas summers. Lighter shingles reflect more sunlight, helping to keep your energy bills down.
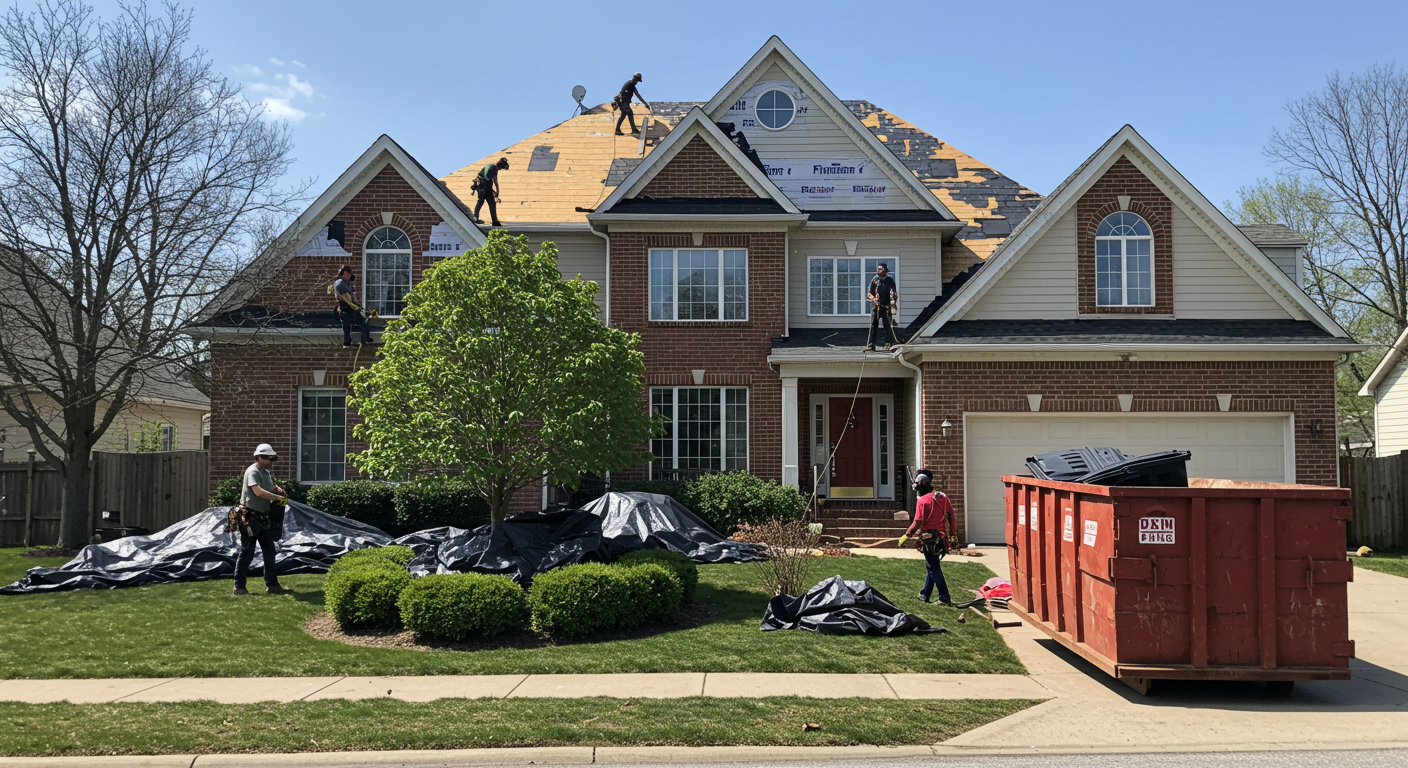
Step 3: Permits, Scheduling, and Preparation
Once materials are selected and the contract is signed, we handle the logistics:
- Permit application through your city or HOA
- Material and dumpster delivery a few days before the project
- Scheduling based on crew availability and weather conditions
You’ll also receive a prep checklist to:
- Move vehicles from the driveway
- Secure pets and remove lawn items
- Notify neighbors about the project timeline
🡒 If your project involves storm damage, visit our insurance claim assistance page.
Communication is key during this phase. We keep you informed every step of the way and assign a dedicated project manager who coordinates materials, crew arrival, and inspections. This pre-planning stage ensures fewer delays and a smoother process overall.
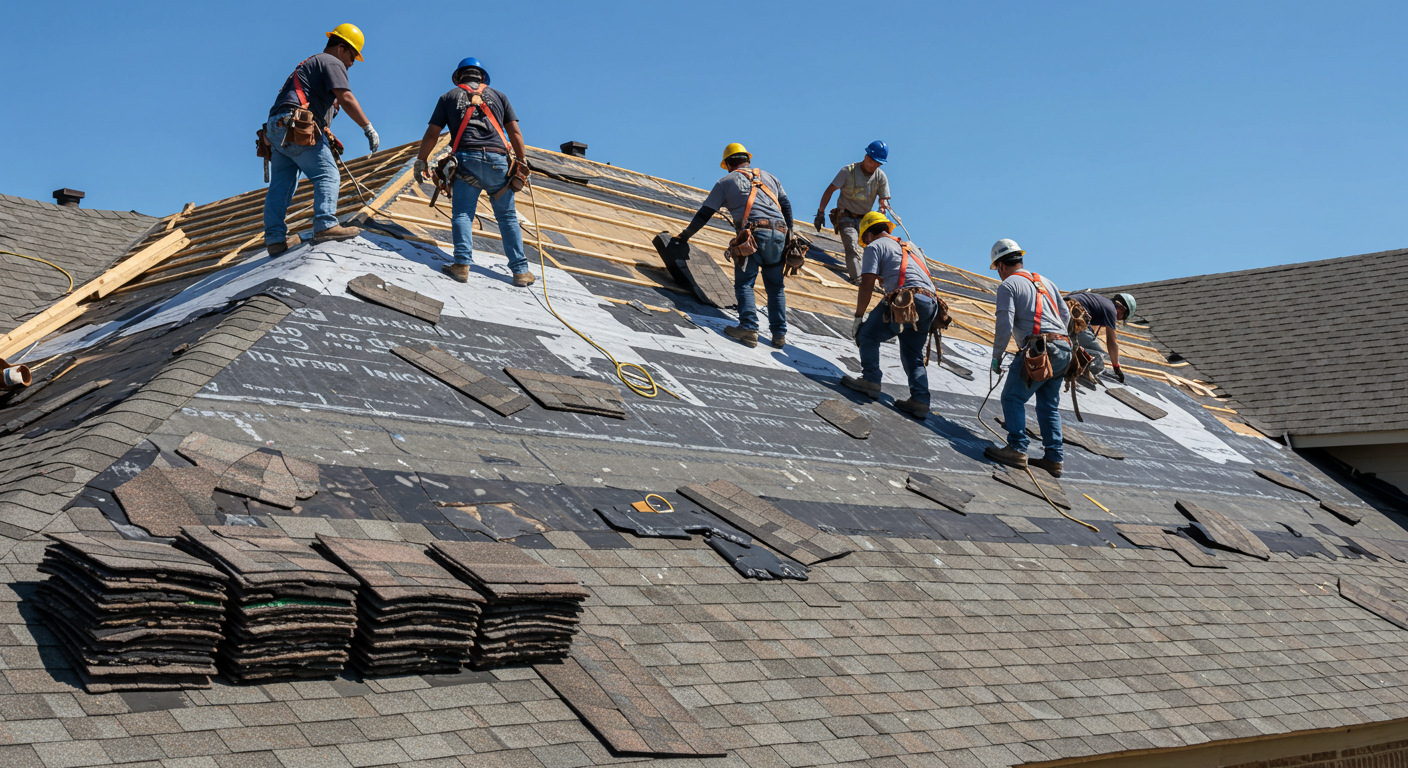
Step 4: Removing the Old Roof
The tear-off phase begins early on installation day. Our crews remove all old materials down to the decking, including:
- Shingles or tiles
- Underlayment
- Flashing
Why a full tear-off?
- It reveals hidden damage to your roof deck
- Ensures the manufacturer warranty stays valid
- Allows proper installation of modern roofing systems
We place protective tarps and use magnetic rollers throughout the job to catch stray nails and debris.
🡒 For guidance on how to prepare, read our blog on roof replacement preparation.
This stage often surprises homeowners with how fast it moves—but it's also one of the loudest and messiest parts of the project. That’s why we prioritize property protection from the very start.
Step 5: Repairing the Roof Deck and Flashing
With the roof stripped, we inspect the wood decking underneath. If needed, we replace:
- Rotten or mold-damaged plywood
- Plank decking that fails modern spacing standards
We also install or replace critical components like:
- Drip edge flashing
- Ice and water barriers in valleys
- Chimney and vent flashing
- Ridge vents or static vents
🡒 Want to better understand when to replace your roof? Here are 9 clear signs it’s time for an upgrade.
Flashing, in particular, is essential for waterproofing. Many leaks originate where the roof meets vertical surfaces, and quality flashing prevents those issues before they start. Our team uses only top-rated materials and sealants to create watertight protection that lasts.
Step 6: Installing Underlayment and Shingles
This is the heart of the project. Once your decking is solid, we start layering your new roofing system:
- Synthetic underlayment for full-deck moisture protection
- Starter shingles along the roof’s edge for wind protection
- Main shingles, installed in overlapping rows for weather sealing
- Ridge cap shingles to seal hips and peaks
- Roof vents, either replacing or upgrading attic ventilation
Every step is completed following manufacturer specs to ensure long-term performance and warranty compliance.
🡒 For more on your options, explore our residential roofing services.
Our installers are certified and trained regularly to stay updated on evolving product technologies and installation best practices. The precision at this stage impacts your roof's performance for decades to come.
Step 7: Project Clean-Up
We take jobsite cleanliness seriously. Once the installation is complete, our team:
- Blows off roof and gutters
- Rolls the yard with a magnetic nail sweeper
- Removes debris and dump trailers
- Leaves your property cleaner than we found it
Your peace of mind is our priority. That’s why we also offer a final homeowner walk-through before you sign off.
🡒 Hear about others' experiences on our Reviews page.
Homeowners with pets and kids especially appreciate our emphasis on cleanliness. We go the extra mile to make sure your yard is safe and nails are accounted for. You shouldn’t have to clean up after your roofer.
Step 8: Final Walkthrough and Warranty Handoff
Before we consider any job complete, we:
- Conduct a detailed inspection of the finished roof
- Review warranty documents with you
- Answer any last-minute questions
- Discuss long-term care and maintenance plans
Your satisfaction is guaranteed. We back our work with manufacturer and labor warranties and offer seasonal maintenance advice.
🡒 Learn about warranty registration and coverage on our roof replacement page.
We also remind homeowners of routine maintenance tasks—like keeping valleys clear of debris and scheduling seasonal inspections. A good roofing system is built to last, but smart upkeep extends its life even more.
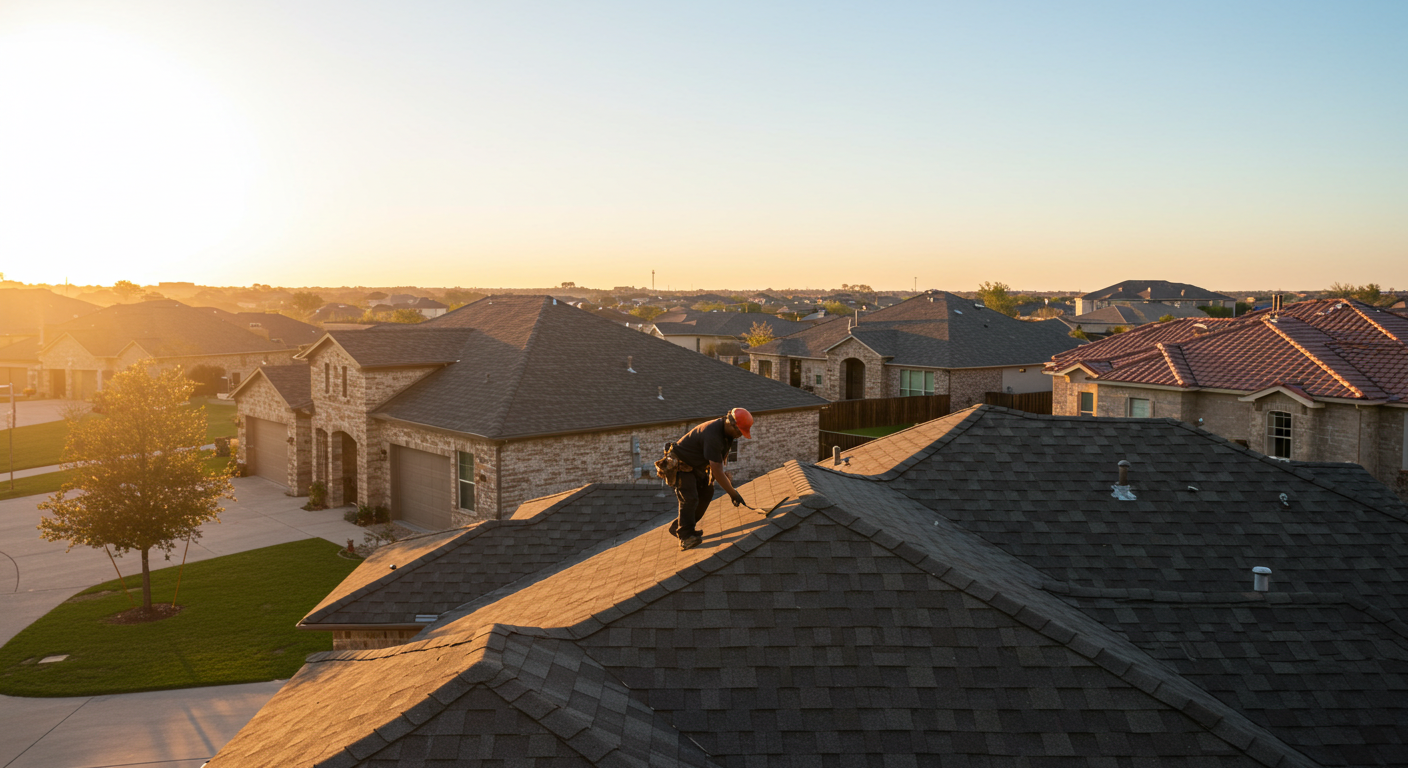
How Long Does Roof Replacement Take?
On average, a full roof replacement takes 1–3 days. Larger, steeper, or more complex roofs may take up to a week. Here’s what influences the timeline:
- Roof size and pitch
- Weather conditions (rain or wind can delay work)
- Type of materials (tile and slate take longer than shingles)
- Structural repairs or decking replacement
🡒 For more insights, check out our blog: How Long Does a Roof Last in Texas?
Each home is unique. During your consultation, we’ll give you a specific timeline, so you’re not left guessing. Our crews work efficiently without sacrificing quality—always aiming to exceed expectations.
Conclusion: Trust the Process, Trust K&M
The full roof replacement process can seem like a lot, but with the right contractor, it’s smooth, efficient, and stress-free. At K&M Roofing and Construction, we bring years of experience, certified materials, and a passion for excellence to every job we do. From the first inspection to the final walkthrough, we’re with you every step of the way.
🡒 Schedule your free roof inspection today or contact our team to learn more.

4.9 Star rating on Google and Facebook with 250+ reviews
The K&M Insider
Stay informed with the latest in roofing, insurance restoration, and exterior home improvements. From protecting your home after a storm to enhancing your outdoor space, our expert guides and industry insights help you make the best decisions for your property.
Contact us
Please reach out to us with any questions regarding the services we offer.
Office
Business Hours
Explore Our Presence Around Texas As Your Trusted Roofing Experts
Find and click on your location below to learn more about what we've done in your area and how we can best serve your needs.
K&M Roofing proudly serves communities across North Texas
Trusted and Certified by top industries nation wide


Maximize your insurance payout with a free estimate
Don’t risk missing hidden damage or leaving money on the table. Our experts provide a free, no-obligation free roof estimate, ensuring your insurance covers everything it should. Book today—before deadlines expire!
